
Diseñar un peluche personalizado desde cero: brief, tech pack y primera muestra
Una guía de fabricante para diseñar un peluche: el brief, un tech pack real (Pantone TCX, mapa de tela, SPI, densidad de relleno), patronaje con pinzas y fuelle, seguridad desde el diseño, y el recorrido del brief a la muestra dorada.
Most “how to make a plush toy” articles are either a one-line funnel (“just send us your drawing!”) or a hobbyist sewing tutorial. Neither tells a brand what a factory actually needs to turn a character into a manufacturable, safe, on-spec product. This guide does — the brief, a real tech pack, how 3D shape is built from flat fabric, the truth about colour, designing for safety, and the workflow from concept to the golden sample your bulk run is measured against.


Start with a brief, not a drawing
A drawing tells us what the toy looks like. A brief tells us what it has to be: the audience and age grade (which decides safety and therefore the eyes and small parts), the target size, the target retail price and MOQ (which decide fabric and construction budget), and the emotional read of the character. Decisions you skip here become expensive surprises at sampling. Define them first, and the tech pack almost writes itself.
Anatomy of a plush tech pack
The tech pack is the blueprint that travels from sampling through mass production. A weak one is the single biggest cause of rejected samples and re-runs. A strong plush tech pack specifies:
- Turnaround views — front, side and back, with key dimensions and tolerances annotated (head width, ear size, limb length, tail placement).
- Fabric map — every body zone assigned a fabric by fibre, pile height and weight (GSM): minky, velboa, faux fur, sherpa, felt.
- Colour callouts — Pantone TCX per fabric and thread (see the colour section below).
- Face method — embroidered, printed/sublimated or appliqué (compared next), with thread colours or print files.
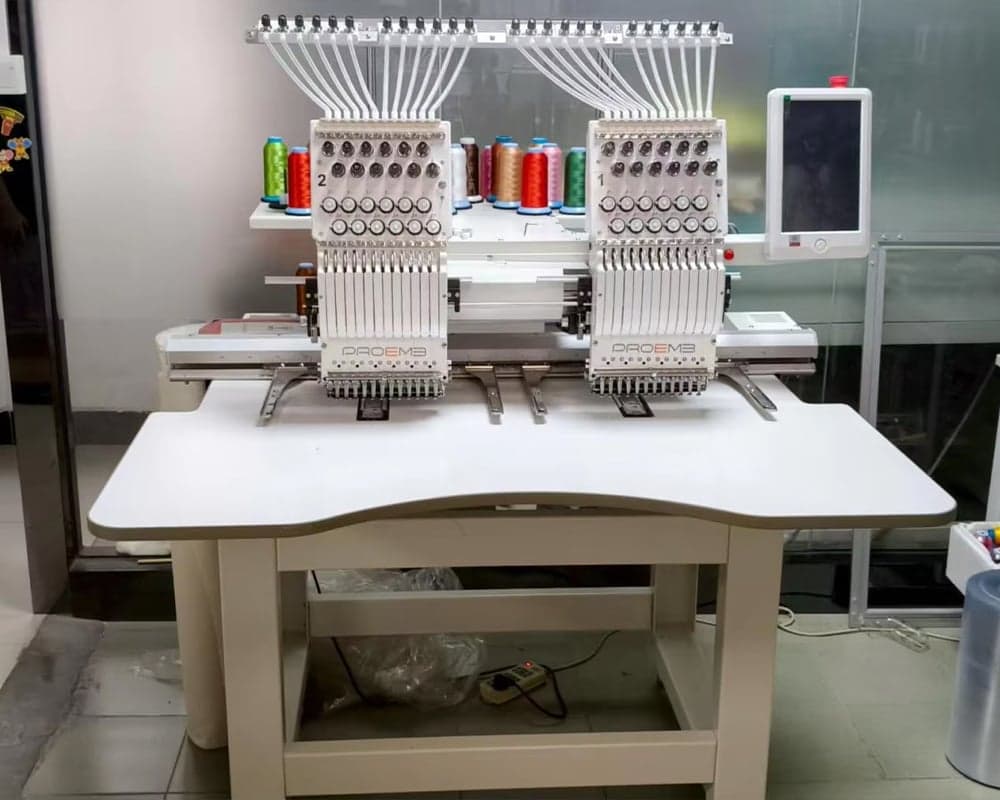
- Construction — seam type, reinforcement at limbs/neck/tail, seam allowance (typically 3–5 mm), and stitch density (machine plush runs roughly 8–12 stitches per inch).
- Eyes & safety components — embroidered vs plastic safety eyes with locking washers, by age grade.
- Fill material & target density/weight — PP cotton, memory foam, pellets or weighted pads, with a target weight so softness is repeatable run to run.
- Labels, accessories & packaging — sewn-in care/tracking label position, hangtag, polybag spec, carton spec, plus the bill of materials (BOM).
Face & eye methods compared
The face carries the character, and the method you choose has cost, detail and safety consequences. This is the decision most first-time designers get wrong.
| Method | Best for | Under-3 safe? | Cost | Notes |
|---|---|---|---|---|
| Embroidered eyes & face | Babies / under-3, soft look | Yes — no detachable parts | $$ | Flat colour steps only; no gradients |
| Plastic safety eyes (washer-locked) | Ages 3+, realism / sparkle | Only 3+, must pass pull test | $ | ASTM ~10–15 lbf / EN 71-1 90 N attachment test |
| Appliqué | Bold shapes, contrast | Yes if stitched, no small parts | $$ | Adds dimension; more labour |
| Printed / sublimation | Complex art, gradients, photos | Yes if no parts | $$–$$$ | Colour shifts on pile; best on flat panels |
Pattern-making: how flat fabric becomes a round toy
This is the craft competitors never explain. A pattern-maker — by hand or by digitally sculpting a 3D model and unfolding it into 2D panels — turns your turnaround art into sewable pieces. Roundness doesn't come from the fabric; it comes from two devices:
- Darts — wedge-shaped tucks sewn into a panel. Triangular darts create chubby cheeks, a rounded forehead or a plump backside; oval darts pull legs and body inward.
- Gussets — tapered strips inserted between panels (a belly gusset, a head gusset) that add the third dimension and volume.
Pattern-making typically runs 3–7 days, with seam allowance (3–5 mm) and the realities of turning and stuffing baked in — a panel too narrow can't be turned right-side-out or stuffed evenly. This is why a beautiful flat drawing sometimes needs to change before it can exist as an object.
Why your screen lies about colour
Screens emit RGB light; fabric reflects dyed colour off a textured pile. A hex value or an RGB swatch simply cannot specify a textile, which is why colour is the most common sampling dispute. Spec your colours in Pantone TCX — the cotton-dyed textile standard — not TPX (printed on paper, and roughly 15% lighter than the same TCX chip). Then approve a physical fabric swatch evaluated under D65 (6500K daylight), not office light or a phone screen, and accept that minor dye-lot variation between production runs is inherent to textile dyeing.
Safety & age grading by design
Safety is a design decision, not a test you bolt on at the end. The pivotal question is the age grade. For under-3s, any part that fits the small-parts cylinder is prohibited under 16 CFR 1501 — so the baby band uses embroidered eyes and no detachable accessories. For ages 3+, plastic safety eyes are allowed but every attached part must survive the use-and-abuse pull test: EN 71-1 applies 90 N for parts over 6 mm (held 10 seconds), while ASTM F963 applies roughly 10–15 lbf by age. Design the eyes, the seams and the accessories to pass these from the start. For the full testing breakdown, see our plush safety standards guide.
Brief to golden sample
Here is the path from your idea to the approved reference unit that every production piece is checked against.
- 1Design briefAudience, age grade, size, price, MOQ
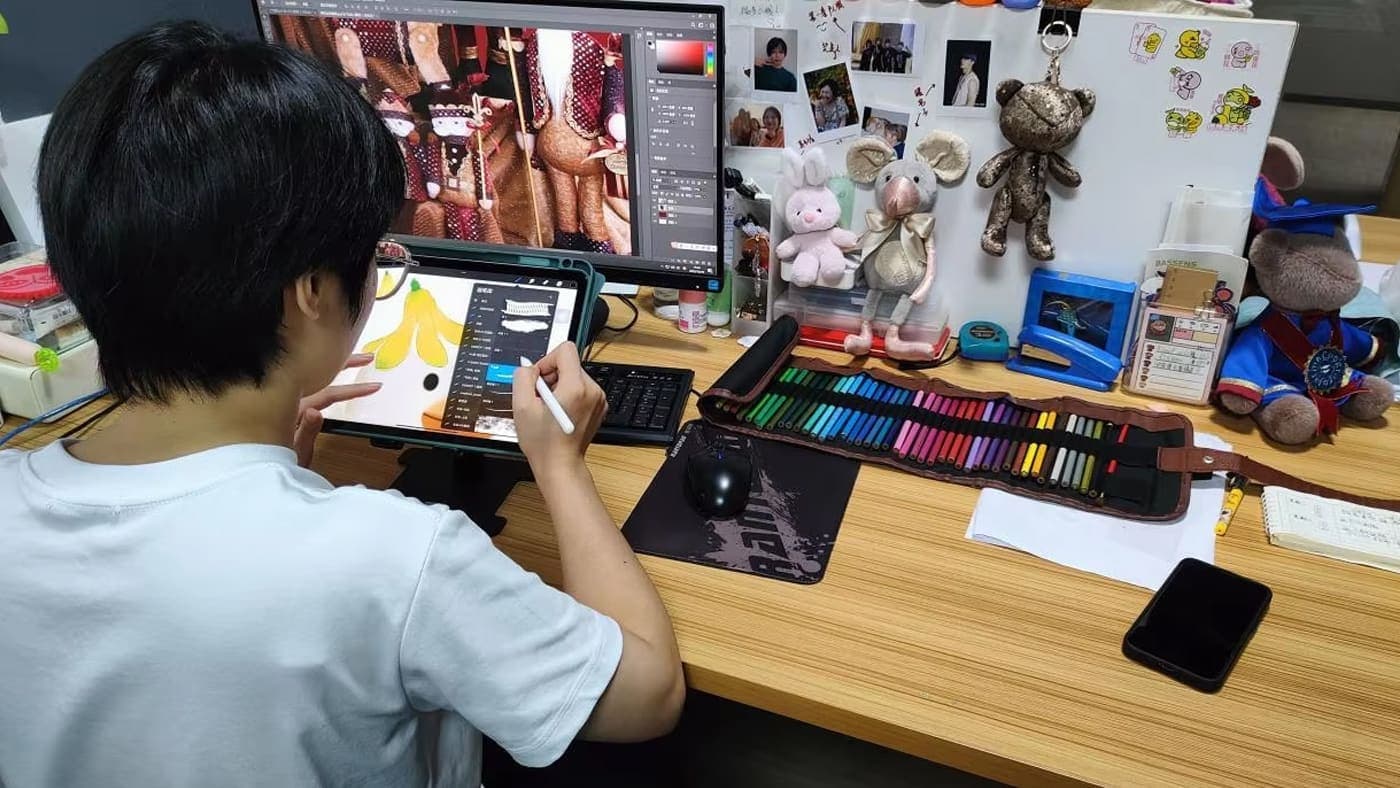
- 22D turnaround artFront / side / back + references
- 3Tech pack + BOMFabric map, Pantone TCX, construction
- 4Pattern / digitise3–7 days; darts & gussets
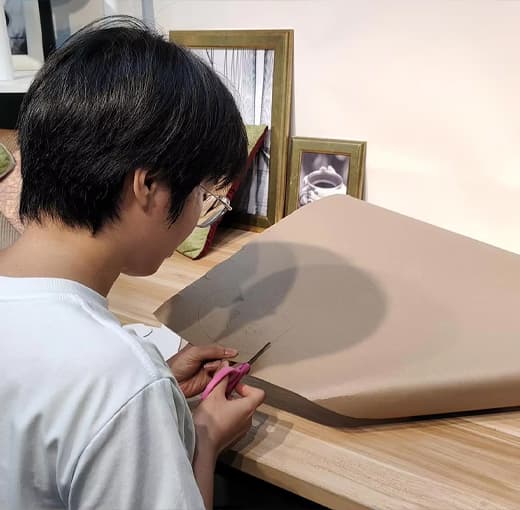
- 5First sample2–5 day build, then review
- 6Revisions1–2 rounds typical, ~1 week each
- 7Golden sampleSafety tested → mass production
7 mistakes that make a plush unmanufacturable
- Over-detailed faces that rely on fine shading fabric can't reproduce.
- Smooth colour gradients — fabric is flat-dyed; use discrete colours or print.
- Tiny or thin appendages that can't be turned, stuffed, or kept safe for under-3s.
- Undercuts and complex 3D forms that won't decompose into sewable panels.
- Specifying colour by hex instead of Pantone TCX with a physical swatch.
- No tolerances on key dimensions, so “close enough” becomes a dispute.
- Changing scope mid-sampling, which destabilises work already completed and resets the clock.
Bring us the brief
Send your concept, your age grade and your target price, and we'll turn it into a manufacturable tech pack and a sample you can hold — usually inside a month. Start on our contact page, see what we've built for other brands in our customer case portfolio, or read how OEM and ODM models differ in our OEM vs ODM guide.


