Embroidery vs Printing on Plush: The Complete Decoration Methods Guide
Every way a face, logo or detail gets onto a plush — embroidery, dye-sublimation, screen print, appliqué, woven labels — with the scale, fabric, cost and durability trade-offs, and how to choose.
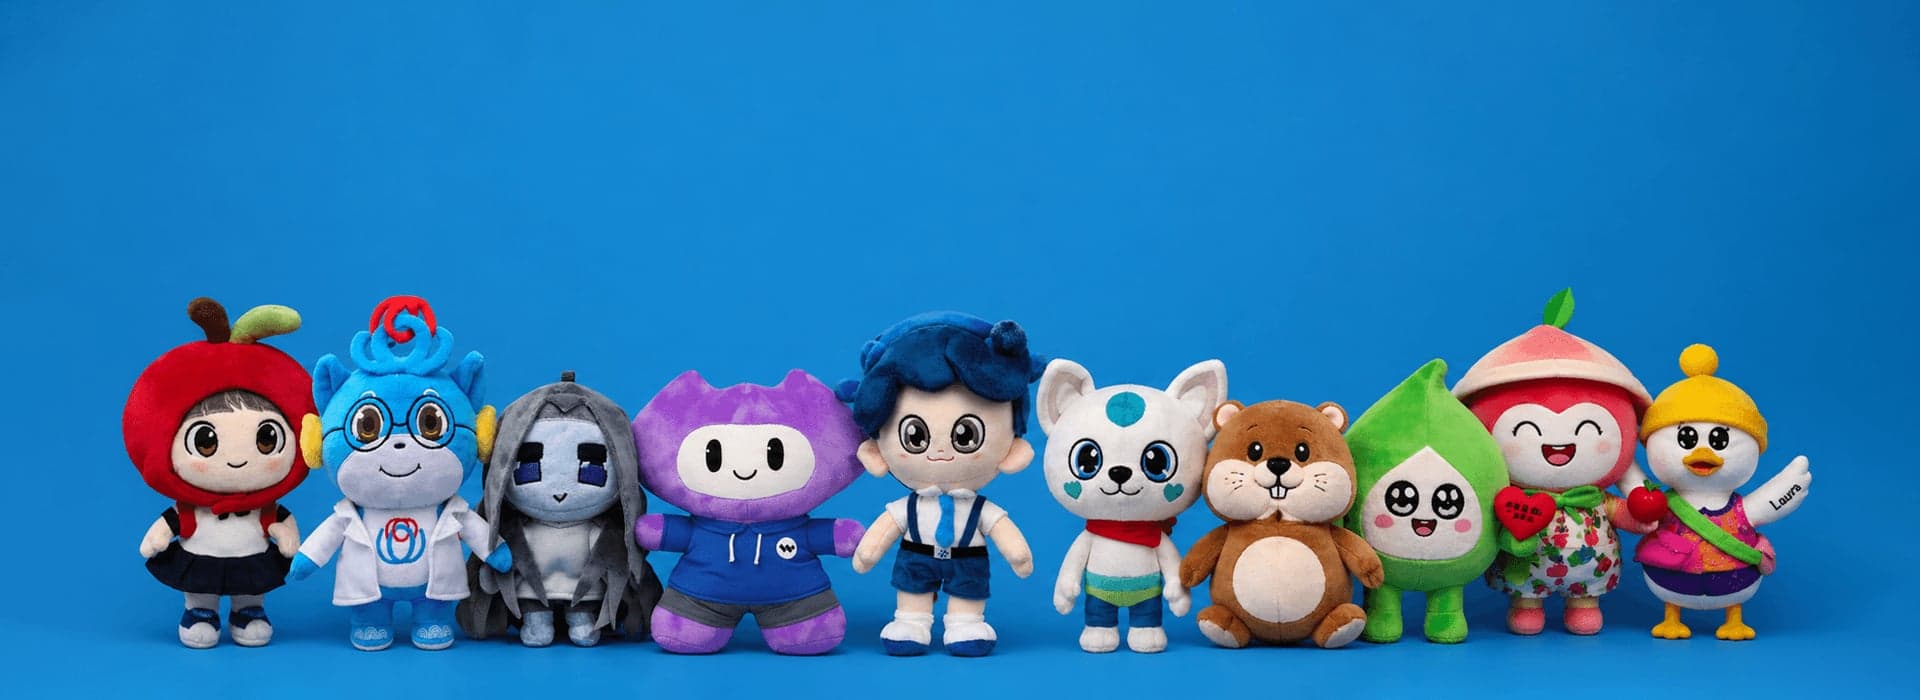
The face is what sells a plush — and how that face gets made decides whether it looks premium or bootleg, whether it survives the wash, and what it costs. Most guides pit “embroidery vs printing” and stop there. But there are really six routes onto a plush, each with its own strengths, and the pros rarely pick just one. This is the complete decoration guide, with the scale and fabric rules competitors skip.
How a design actually gets onto a plush
Here are all the methods at a glance — keep this table; it's the decision in one place:
| Method | Best for | Limit | Fabric | Feel |
|---|---|---|---|---|
| Embroidery | Faces, outlines, logos | No gradients; text < ~5 mm blurs | Short-pile / woven | Raised, premium |
| Dye-sublimation | Photoreal, gradients, all-over | Polyester only; no white ink | Polyester, light base | Flat |
| Screen print | A few solid spot colors | Cracks/mottles on pile | Flat woven panels | Flat |
| Appliqué | Bold color blocks | Not for fine detail | Most fabrics | Layered, soft |
| Heat transfer / DTF | Small simple logos | Peels on pile / hot washes | Short-pile only | Filmy |
| Woven label / hang tag | Fine text, names, branding | Not an on-body image | Sewn-in | Flat label |
Machine embroidery: the premium tactile default
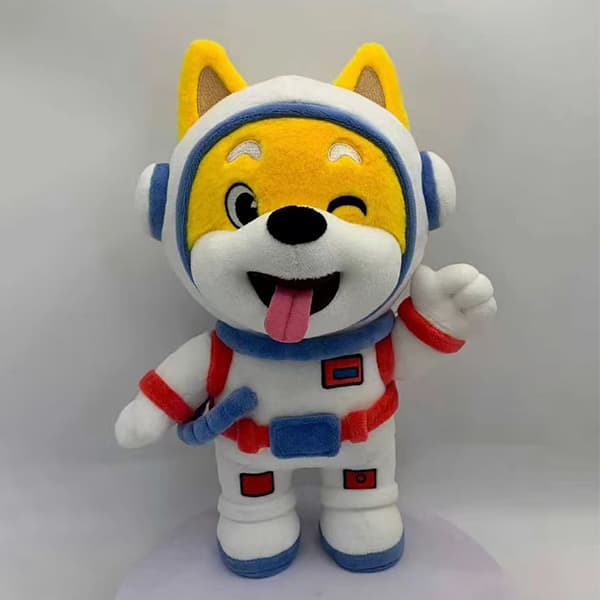
Machine embroidery uses satin stitch (narrow, glossy — for outlines and lettering) and fill/tatami stitch(for larger areas), stitched onto a stabilized panel. It's raised, tactile, and the most durable option — it survives repeated washing and abrasion without cracking or fading. Its limits are real: it can't do photographic gradients, and fine lines or text below roughly 3–5 mm blur or close up (block fonts hold far better than serif). On long shaggy pile the stitches sink into the fur, so embroidery works best on short-pile or woven faces.
Dye-sublimation & fabric printing: all-over photographic color
Dye-sublimation does the one thing embroidery can't: true continuous-tone, photographic, edge-to-edge color with smooth gradients. Two rules define it: it bonds only to polyester (or polymer-coated fabric), and it has no white ink, so it needs a light or white base. Because it prints in CMYK process, some exact Pantone spot colors can't be matched — and the result is flat rather than tactile. It's the right call for highly illustrated or anime-style faces.

Screen print, heat transfer & DTF: where they fit (and fail)
Screen printing lays one spot color per screen — cheap for a few solid colors, costly as colors multiply — but it's the wrong tool for fuzzy plush: ink sits on a flat surface, so on raised pile it mottles, and the soft fill flexing underneath makes the hardened ink micro-crack. Heat transfer / DTF is even more limited on plush: it only works on short, smooth pile and small simple logos, and it can edge-lift or peel after hot washes. Use both sparingly, and only on flat panels.
Appliqué & woven labels: bold blocks and crisp branding
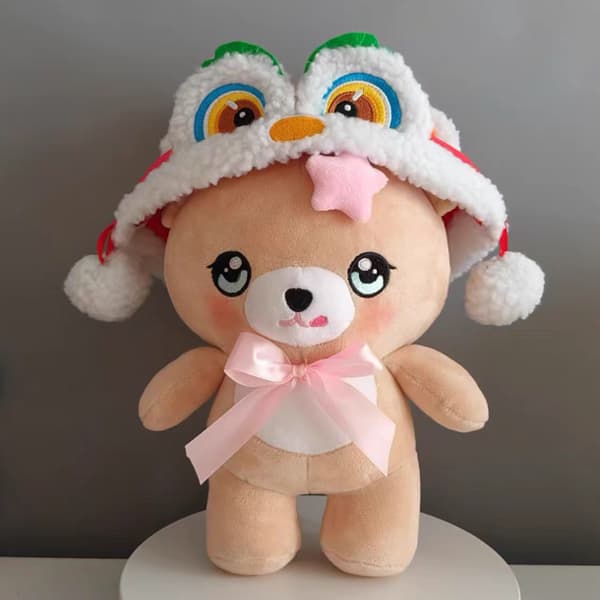
Appliqué stitches pre-cut (often laser-cut) fabric shapes onto the body, usually outlined with satin stitch. It's the smart way to do bold color blocks: it cuts stitch count, keeps the toy softer than a dense fill, and is durable — which is why it's so often combined with embroidery on top. And for the fine text embroidery can't hold — a brand name, care info, a tiny logo — a sewn-in woven label or hang tag carries crisp small type cleanly.
The hybrid: best of both
The professional default isn't one method — it's a hybrid: a printed or sublimated panel for photoreal detail and gradients, with embroidered outlines and accents(and optional appliqué blocks) on top. You get the print's detail and the embroidery's tactile, durable, premium finish — and, for kids' plush, safe stitched facial features.

Choosing your method: scale, fabric, durability, cost & safety
Work it through by what the design needs — and remember the trap competitors ignore: scale. The same logo that reads fine on a 30 cm plush turns to mush on a 10 cm keychain, so tiny faces lean on embroidery's bold simplification (see our mini plush guide). Here's the decision in one path:
- 1Gradient / photo?Yes → sublimation (needs polyester)
- 2Bold color blocks?→ appliqué (+ embroidery)
- 3Outlines / logo / face?→ embroidery
- 4Fine text / a name?→ woven label
- 5Want it all?→ hybrid: print + embroidery
One safety note: for baby and under-3 plush, embroidered features are preferred because they have no detachable small parts, and any printed inks must meet the chemical-migration limits in toy-safety standards (ASTM F963 / EN 71-3). The full picture is in our safety standards guide and fabric & materials guide.
Decorate your plush the right way
Send us your artwork and target plush size and we'll recommend the method — or hybrid — that reproduces it best at the right cost. Start on our contact page, request a sample, or browse our customer case portfolio.
الأسئلة الشائعة
Should a plush toy's face be embroidered or printed?
What's the smallest text or detail you can embroider on plush?
Can you print a photo or gradient on a plush toy?
Which is more durable, embroidery or printing?
How do decoration choices affect cost and minimum order?
جاهز لصنع دميتك القطيفة المخصصة؟
أخبرنا بمشروعك واحصل على عرض سعر مباشر من المصنع خلال ساعة عمل واحدة.